Fix Leaky Roof | Preventive Measures, Identification, and Repairs

Fix Leaky Roof | Preventive Measures, Identification, and Repairs

When it comes to home maintenance, addressing a leaky roof promptly is of utmost importance. A leaky roof can lead to significant damage if left unattended. Not only can it compromise the structural integrity of your home, but it can also cause water damage to the interior, leading to mold growth, rotting wood, and potential health hazards. By addressing a leaky roof promptly, you can prevent further damage and ensure the safety and longevity of your home.

Common causes of roof leaks

Understanding the common causes of roof leaks can help you identify the underlying issues and take appropriate action. Some of the most common causes of roof leaks include:

  • Damaged or Missing Shingles:

Over time, shingles can become cracked, curl up, or go missing, allowing water to penetrate through the roof.

  • Improper Roof Flashing:

Poorly installed or damaged flashing around chimneys, vents, skylights, or roof valleys can create entry points for water.

  • Clogged Gutters:

When gutters are clogged with leaves, debris, or moss, they can overflow, causing water to seep under the roofing materials.

  • Age and Wear:

As a roof ages, it becomes more susceptible to leaks due to deterioration and wear of the roofing materials.

ceiling leak roof

Identifying the Source of The Leak

Inspect the roof surface carefully, paying attention to areas around chimneys, vents, skylights, and any other roof penetrations. Look for gaps, deteriorated sealant, or loose flashing, as these can also contribute to leaks. Take note of any areas with moss, algae, or debris buildup, as they can hold moisture and accelerate roof deterioration.


Checking for signs of water damage inside the house


While a visual inspection is essential, it’s equally crucial to check for signs of water damage inside your house. Leaks may not always manifest directly below the damaged area on the roof. Look for water stains on ceilings, walls, or near windows. Examine the attic for dampness, mold growth, or rotting wood, as these are indicative of roof leaks. Keep in mind that water can travel along rafters or insulation before finding a visible entry point. By identifying the interior signs of water damage, you can narrow down the potential source of the leak and ensure a more accurate repair.


Utilizing tools and techniques to locate the precise leak location


Sometimes, identifying the precise location of a roof leak can be challenging, especially if the damage is not readily apparent. In such cases, additional tools and techniques can aid in pinpointing the source:


  • Hose Test: Enlist a helper to run water over specific sections of the roof while you observe the interior for signs of leakage. This method can help determine the exact area where water is entering.


  • Thermal Imaging: Infrared cameras can detect temperature differences, revealing areas of moisture intrusion or insulation gaps that may lead to leaks.


  • Moisture Meters: These handy tools measure moisture levels in materials, helping to identify areas of saturation or water accumulation.


repairs roofing maintenance

Preparing for Repairs

Before beginning on the repair of a leaky roof, it is crucial to gather all the required tools and materials. This preparation ensures that you have everything on hand for a smooth and efficient repair process. Some essential tools and materials you may need include:

Safety Equipment:

Ensure you have safety goggles, work gloves, and non-slip shoes or boots to protect yourself during the repair.

Roofing Tools:

Collect a hammer, pry bar, roofing nails, utility knife, caulking gun, roofing cement, roofing adhesive, and roofing tape. These tools will assist you in removing damaged materials, applying new materials, and sealing any gaps or cracks.

Replacement Materials:

Procure shingles or tiles that match your existing roof. Additionally, gather roofing felt or underlayment, flashing (if required), and sealant or caulk for effective repairs.

Ensuring personal safety during the repair process

Your safety should be a top priority when fixing a leaky roof. Follow these precautions to minimize any risks:

  • Use Proper Safety Gear:

Wear safety goggles to protect your eyes from debris, work gloves to safeguard your hands, and non-slip shoes or boots to maintain stability while working at heights.

  • Secure a Stable Work Surface:

Ensure that your ladder is sturdy and properly positioned. Place it on a stable and level ground, and consider using ladder stabilizers or standoffs for added security.

  • Take Caution with Power Tools:

If power tools such as nail guns or drills are necessary, ensure you are familiar with their operation and use them according to the manufacturer’s guidelines. Exercise caution and follow proper safety protocols to prevent accidents.

evaluating roof damage

Repairing Common Roof Leak Issues

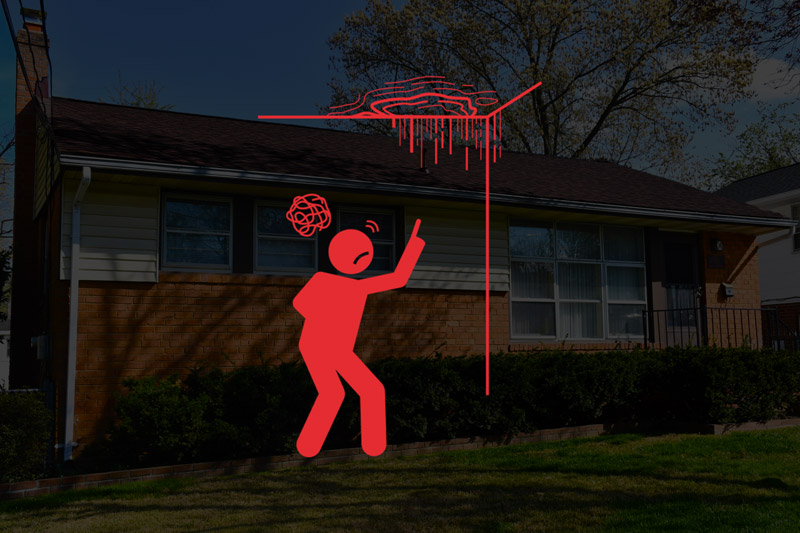
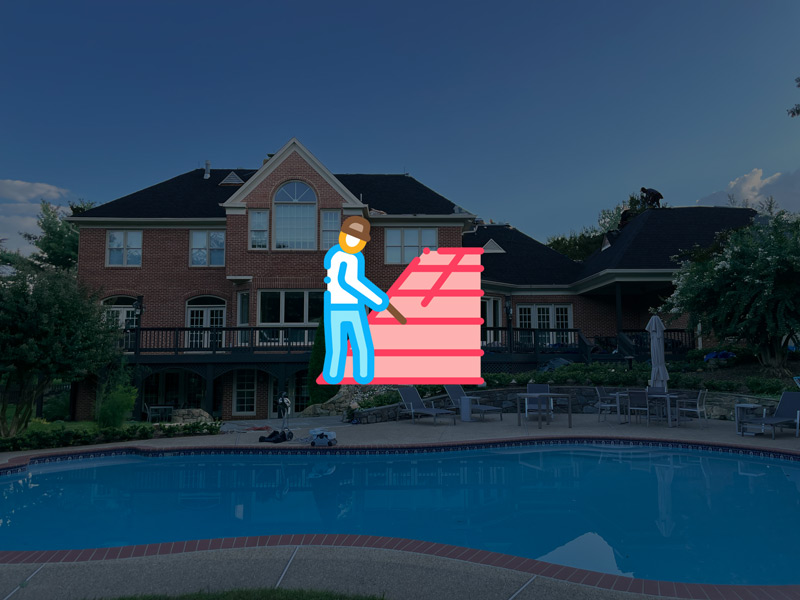
Patching small holes and cracks


When dealing with small holes and cracks in your roof, it’s crucial to address them promptly to prevent further leaks. Follow these steps to effectively patch such areas:


Identifying suitable patching materials

Look for appropriate patching materials that are compatible with your roof’s material. This may include roofing cement, roofing tape, or sealant. Ensure the materials are designed to withstand weather conditions and provide a durable seal.


Applying patches to damaged areas

Clean the area around the hole or crack using a brush or broom to remove debris and loose particles. Apply the chosen patching material carefully, following the manufacturer’s instructions. Press the patch firmly into place and smooth it out to create a tight seal. Allow it to dry and cure properly before moving on to the next step.


Replacing damaged shingles or tiles


If your roof has damaged shingles or tiles, replacing them is necessary to prevent water infiltration. Here’s how you can accomplish this:


  • Assessing the extent of damage

Thoroughly inspect your roof to identify the damaged shingles or tiles. Look for signs of curling, cracking, or missing pieces. Assess the overall condition of the surrounding roofing materials to ensure they are in good shape.


  • Removing and replacing individual shingles or tiles

Carefully lift the damaged shingle or tile using a pry bar or similar tool. Remove any nails or adhesive securing it in place. Slide the new shingle or tile into position, ensuring it aligns properly with the adjacent ones. Secure it firmly using roofing nails or adhesive, following the manufacturer’s guidelines.


 Fixing flashing issues


Flashing plays a vital role in preventing water penetration around roof openings and joints. If you encounter issues with the flashing, take the following steps to fix them:


  • Understanding the importance of proper flashing

Recognize the significance of intact and properly installed flashing. It helps redirect water away from vulnerable areas such as chimneys, skylights, or roof valleys. Damaged or improperly installed flashing can lead to leaks, so addressing any issues is essential.


  • Repairing or replacing damaged flashing

Inspect the flashing for signs of damage, such as rust, corrosion, or gaps. If possible, repair minor issues by applying new sealant or caulk. For more extensive damage, consider replacing the flashing entirely. Ensure the new flashing is correctly installed, properly sealed, and securely fastened to the roof.


roof ventilation

Addressing Underlying Roofing Problems

Dealing with inadequate or damaged insulation

Insulation plays a crucial role in maintaining a comfortable indoor environment and preventing heat loss or gain through the roof. Here’s how you can address insulation issues:

Identifying insulation issues

Inspect your attic or crawl space to assess the condition of the insulation. Look for signs of damage, such as moisture, mold growth, or uneven coverage. Inadequate insulation can lead to energy inefficiency and potential roof problems, including ice dams or condensation issues.

Repairing or replacing insulation as necessary

If you identify damaged or insufficient insulation, take appropriate action. Repair minor issues by patching damaged sections or adding additional insulation to improve coverage. For more significant problems, consider replacing the insulation entirely. Choose insulation materials that are appropriate for your climate and follow the manufacturer’s instructions for installation.

Resolving ventilation problems

Proper ventilation is essential for maintaining a healthy roof and preventing a range of issues, including moisture buildup, mold growth, and premature deterioration. Address ventilation problems using the following steps:

  • Understanding the impact of poor ventilation on roof health

Improper ventilation can trap excess heat and moisture in the attic, leading to a variety of problems. These include roof deck deterioration, shingle damage, and increased energy costs. It’s important to recognize the signs of poor ventilation, such as musty odors, excessive humidity, or visible moisture.

  • Implementing appropriate ventilation solutions

Consult with a roofing professional to determine the best ventilation solution for your specific roof structure and climate. This may involve installing ridge vents, soffit vents, gable vents, or powered attic fans. Ensure that the ventilation system promotes proper airflow, allowing hot air to escape while drawing in fresh air from the outside.

gutters and downspouts

Preventive Measures and Maintenance Tips

Regular roof inspections and maintenance

Regular roof inspections are essential for identifying and addressing potential issues before they escalate into costly repairs. Follow these preventive measures to maintain a leak-free roof:

  • Schedule routine inspections: Arrange for professional inspections at least once a year, preferably in spring or fall. A qualified roofer can assess the condition of your roof, identify any signs of damage or deterioration, and recommend appropriate actions.
  • Check for damaged or missing shingles: Inspect the roof surface for cracked, curled, or missing shingles. These can be entry points for water and lead to leaks. Promptly replace any damaged or compromised shingles to maintain a watertight seal.
  • Clearing debris from the roof and gutters

Debris accumulation on the roof and in the gutters can impede proper water drainage, leading to water pooling and potential leaks. Take the following steps to keep your roof free of debris:

  • Regularly clean the gutters: Remove leaves, twigs, and other debris from your gutters to prevent clogging. Blocked gutters can cause water to overflow, damaging the roof and siding. Consider installing gutter guards to minimize debris accumulation.
  • Trim overhanging branches: Trim back tree branches that hang over the roof. Falling branches and leaves can damage the roof surface and create a conducive environment for moss or algae growth, which can contribute to leaks.

Hiring professional roofers for complex repairs or ongoing maintenance

While some roof repairs and maintenance tasks can be done by homeowners, certain complex issues require the expertise of professional roofers. Consider the following scenarios:

  • Complex repairs: If your roof has extensive damage or requires structural repairs, it’s best to hire a professional roofer. They have the necessary knowledge, skills, and equipment to handle complex repairs safely and effectively.
  • Ongoing maintenance: Engaging a professional roofer for regular maintenance tasks can ensure comprehensive care for your roof. They can perform tasks such as resealing flashing, inspecting seals around vents or chimneys, and addressing any potential issues that may arise.

View More Articles

Please Share!