Solar Panel Installation Steps: A Comprehensive Guide
Solar energy is a clean, renewable resource that produces no harmful emissions, unlike fossil fuels. It helps combat climate change and reduces your carbon footprint. Embracing solar power contributes to a greener and more sustainable future, preserving the environment for generations to come.
Assessing Your Property for Solar Panel Installation
Roof Orientation and Angle
The ideal roof for solar panel installation typically faces south to maximize sun exposure. East and west-facing roofs can also work, though they might yield slightly lower efficiency.
The angle of inclination, known as the roof pitch, should ideally range between 15 to 40 degrees, depending on your location’s latitude.
Roof Material and Condition
Ensure your roof is in good condition and can support the added weight of solar panels. Roofs with shingles, metal, or concrete tiles are generally suitable for installation.
If your roof is nearing the end of its lifespan, consider making necessary repairs or opting for a roof replacement before installing solar panels.
Analyzing Your Energy Needs and Consumption
To design an efficient solar energy system, it’s essential to analyze your energy needs and consumption patterns:
- Energy Consumption Analysis
Review your past electricity bills to understand your household’s average energy consumption. Identify patterns of high energy usage during specific seasons or months.
Consider energy-saving measures like LED lighting and energy-efficient appliances to reduce overall energy consumption.
- Determining Your Solar Goals
Define your solar goals, whether it’s achieving complete energy independence or offsetting a percentage of your electricity consumption. This will help determine the system size you require.
Considering Energy Storage (Optional)
If you aim for energy independence or need backup during power outages, consider incorporating a solar battery storage system into your setup.
- Considering Local Regulations and Permits
Before commencing the solar panel installation, be aware of the local regulations and obtain the necessary permits:
- Local Building Codes and Regulations
Check with your local authorities about specific regulations and building codes related to solar panel installation steps. Some regions may have restrictions on the type or size of solar panels allowed.
- Utility Interconnection Agreement
Understand the process of connecting your solar system to the grid and any agreements you must enter with your utility company.

Planning and Preparing for Solar Panel Installation
Choosing the Right Solar Panel System for Your Home
When planning to switch to solar energy, selecting the appropriate solar panel system for your home is paramount. Consider the following factors to make an informed choice:
System Type and Configuration
Decide between an on-grid, off-grid, or hybrid solar system based on your energy goals and local conditions.
Assess the available space on your roof or property and determine the most suitable configuration, such as rooftop solar panels or ground-mounted arrays.
Solar Panel Efficiency and Performance
Research different solar panel brands and models to understand their efficiency ratings and performance in various weather conditions.
Look for reputable manufacturers and check customer reviews to ensure you invest in a reliable and high-performing solar panel system.
Selecting the Ideal Location for Optimal Sunlight Exposure
The location of your solar panels significantly impacts their efficiency and energy production. Follow these guidelines for the best results:
Solar Panel Orientation
In the northern hemisphere, position solar panels facing south to capture the maximum sunlight throughout the day.
If south-facing isn’t feasible, east and west orientations can also work, though they might slightly reduce overall energy generation.
Shading and Obstructions
Ensure there are no obstructions like trees, tall buildings, or chimneys casting shadows on your solar panels during peak sun hours.
Shading can significantly reduce energy output, so choose a location with minimal potential shading.
Determining the Number of Panels Required
The number of solar panels needed depends on your energy consumption and the system’s capacity. Consider the following steps to determine the optimum panel count:
- Assess Your Energy Consumption
Refer to your electricity bills to calculate your average daily and monthly energy usage in kilowatt-hours (kWh).
- Account for Efficiency and Location
Adjust your energy consumption figure based on factors like solar panel efficiency, shading, and orientation.
- System Capacity and Sizing
Select a solar panel system size that aligns with your energy consumption, usually measured in kilowatts (kW).
Estimating Costs and Financing Options
Understanding the financial aspects of solar panel installation is crucial. Consider the following points for cost estimation and financing:
- Cost Breakdown
Estimate the total cost of your solar panel installation, including solar panels, inverters, mounting, and installation expenses.
- Incentives and Rebates
Research available solar incentives, tax credits, and rebates in your region, as they can significantly reduce the overall installation cost.
- Financing Options
Explore financing options like solar loans, lease agreements, or power purchase agreements (PPAs) to make solar more affordable.
Solar Panel Installation Steps
Solar Panel Installation Steps
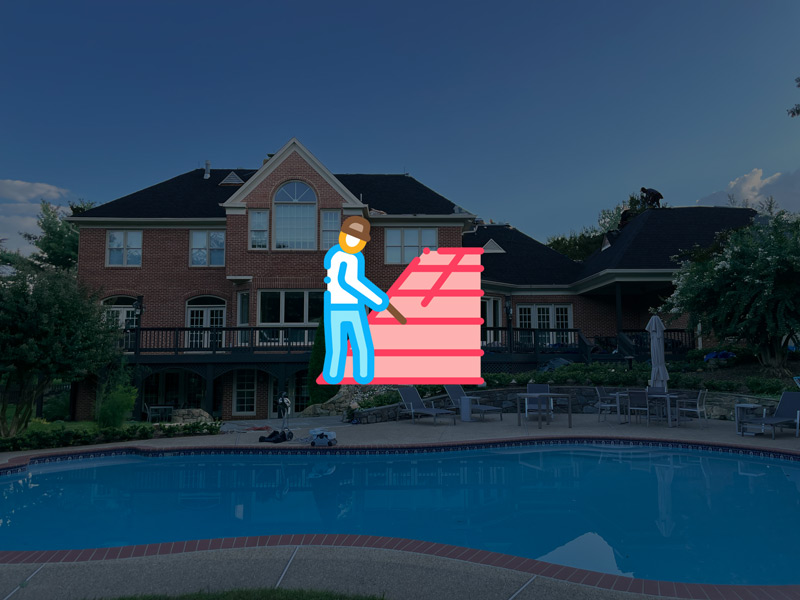
- Step 1: Roof Inspection and Reinforcement (if necessary)
Properly assessing and preparing your roof is the initial crucial step in the solar panel installation process. Ensuring a sturdy and stable foundation will contribute to the long-term success of your solar energy system.
Assessing Roof Condition and Making Repairs
Before proceeding with the installation, a thorough roof inspection is essential to identify any existing issues that could affect the solar panel setup. Here’s what you should do:
Professional Roof Inspection
Engage a qualified roofing professional to assess the condition of your roof thoroughly.
The expert will check for leaks, damages, and any structural weaknesses that may require immediate attention.
Roof Longevity
Evaluate the remaining lifespan of your roof. Solar panels typically last 25-30 years, so ensure your roof can support them for that duration.
If your roof is nearing the end of its lifespan, consider repairing or replacing it before proceeding with the installation.
Addressing Repairs
If the roof inspection reveals any issues, have them fixed promptly by a certified roofing contractor.
Addressing repairs beforehand will prevent potential damage to your solar panel system and ensure its longevity.
Strengthening Roof Structure to Support Solar Panels
Solar panels add weight to your roof, so it’s essential to reinforce the structure if necessary. Follow these steps to ensure your roof can accommodate the solar panel installation:
- Consult with a Structural Engineer
If your roof requires reinforcement to support the additional weight of solar panels, consult with a structural engineer.
The engineer will recommend appropriate measures to strengthen your roof’s load-bearing capacity.
- Consider Roofing Materials
Ensure that the roofing material is compatible with solar panel mounting systems. Some materials may require specific mounting solutions.
Additionally, using high-quality roofing materials will enhance the overall durability of your solar installation.
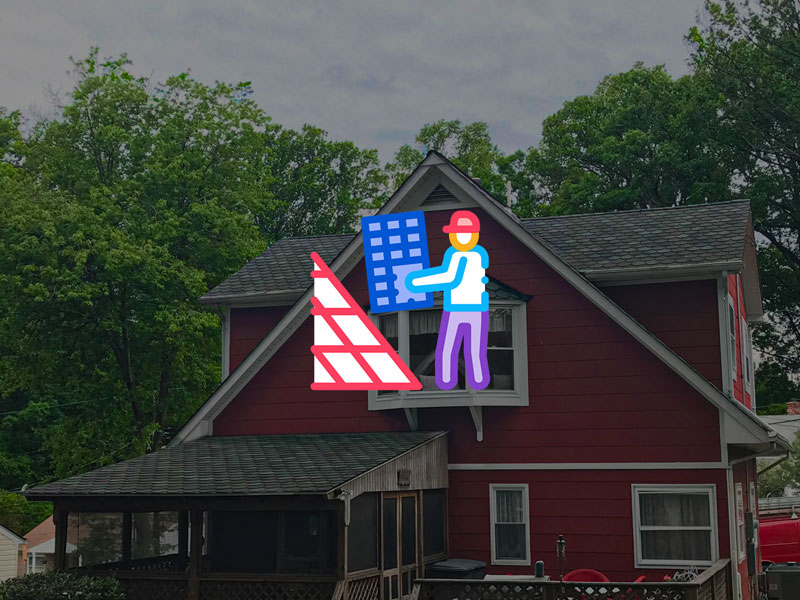
Step 2: Mounting Solar Panels
Mounting the solar panels correctly is a critical aspect of the installation process, as it ensures maximum sun exposure and the efficient functioning of your solar energy system.
- Deciding on the Mounting Method (Flush, Tilted, or Tracking)
Flush Mounting
Flush mounting involves placing solar panels parallel to the roof surface, creating a seamless and aesthetically pleasing appearance.
This method is commonly used for residential installations and works well on roofs with limited space or when visual appeal is a priority.
Tilted Mounting
Tilted mounting, also known as angled mounting, involves tilting the solar panels to an optimal angle, usually based on your location’s latitude.
This method maximizes sunlight exposure throughout the day, improving energy production efficiency.
Tracking Mounting (Optional)
For enhanced energy generation, some advanced solar systems utilize tracking mounts that follow the sun’s path throughout the day.
While this option yields higher efficiency, it may involve higher costs and maintenance.
Installing Racking and Mounting Hardware
Racking System Selection
Choose a suitable racking system based on the mounting method you’ve decided upon.
Ensure the racking material is durable, weather-resistant, and complies with local regulations.
Positioning the Racking System
Install the racking system on your roof, ensuring precise alignment and stability.
Follow manufacturer guidelines and local building codes for proper positioning.
Attaching Solar Panels to the Mounting System
Panel Layout and Configuration
Determine the most efficient panel layout to maximize sunlight exposure and overall energy output.
Organize the solar panels in rows or arrays according to the chosen mounting method.
Securing the Solar Panels
Carefully attach the solar panels to the racking system using appropriate mounting hardware.
Double-check the fastening to ensure a secure and immovable fit.
Step 3: Electrical Wiring and Connection
This phase involves wiring the solar panels and connecting them to the electrical system of your home.
Preparing Electrical Components and Inverters
Inverter Selection
Choose the right inverter based on your solar panel system’s capacity and specifications.
Consider options such as string inverters, microinverters, or power optimizers, each with its benefits.
Electrical System Preparation
Ensure your home’s electrical system is compatible with the solar panel setup.
Arrange necessary electrical upgrades if required.
Properly Wiring Solar Panels and Inverters
- Wiring Solar Panels
Carefully connect the solar panels in series or parallel configurations, depending on the system design.
Use appropriate wiring and connectors to ensure efficiency and safety.
- Inverter Connection
Connect the solar panels to the inverter as per the manufacturer’s guidelines.
Verify the connections to prevent any potential issues during operation.
Connecting Solar System to the Electrical Grid
- Grid Connection Approval
Obtain necessary approvals and permits from the utility company before connecting your solar system to the electrical grid.
Comply with local regulations and requirements for grid interconnection.
- Final Connections
With professional assistance, establish the connection between the solar system and the electrical grid.
Implement safety measures and conduct inspections to ensure compliance with standards.
Step 4: Safety Measures during Installation
Maintaining safety throughout the installation process is paramount to safeguarding the well-being of both the installers and the future users of the solar system.
Implementing Safety Guidelines and Equipment
- Safety Training
Ensure all installation personnel have received appropriate safety training and are well-versed in best practices.
Familiarize the team with safety guidelines specific to solar panel installation steps.
- Personal Protective Equipment (PPE)
Mandate the use of appropriate PPE, including helmets, safety glasses, and gloves during the installation.
Safety equipment should be in good condition and regularly inspected.
Ensuring Proper Grounding and Electrical Safety
- Grounding System Installation
Properly install the grounding system to protect against electrical faults and lightning strikes.
Ground all metal components of the solar system to maintain electrical safety.
- Electrical Safety Checks
Perform comprehensive electrical safety checks at various stages of installation.
Test circuits, connections, and equipment to identify and resolve any potential issues.
Maintenance and Long-Term Care
Scheduled Cleaning
Dust, dirt, and debris can accumulate on solar panels over time, reducing their efficiency. Plan regular cleaning schedules, especially in dusty or polluted areas. Use a soft brush or a hose with low pressure to clean the panels gently. Avoid harsh chemicals that may damage the protective coatings.
Inspecting for Damage
Periodically inspect your solar panels for any signs of damage, such as cracks, water intrusion, or loose connections. Addressing minor issues early can prevent larger problems in the future.
Monitoring Energy Production and Efficiency
Use Monitoring Tools
Utilize monitoring tools provided with your solar panel system or invest in third-party monitoring systems to track energy production and system performance.
Regularly review data and be alert to any significant drops in energy production, which may indicate potential issues.
Seasonal Adjustments
Be aware that energy production can vary with seasonal changes and weather conditions. Make adjustments as needed to optimize efficiency throughout the year.
Addressing Potential Issues and Repairs
Professional Inspections
Schedule periodic professional inspections by qualified solar technicians to assess the overall health of your system.
Professionals can identify potential issues that may not be apparent during regular checks.
Prompt Repairs
If you notice a drop in energy production or encounter any abnormalities, don’t delay in seeking professional assistance. Prompt repairs can prevent further damage and ensure your system operates efficiently.
Leave a Reply