Different Types of Roof Flashing: Your Ultimate Guide
When it comes to safeguarding our homes from water damage, there’s one unsung hero in the world of roofing – roof flashing. In this article, we will delve into the world of different types of roof flashing, exploring the critical role they play in preserving the integrity of your roof and ultimately, your home.

What is Roof Flashing?
Defining Roof Flashing:
Roof flashing, a fundamental component of roofing systems, serves as a protective barrier against the relentless forces of nature, particularly water infiltration. It’s essentially a shield that prevents moisture from finding its way into vulnerable areas of your roof and, by extension, your home’s interior.
Guarding Against Water Penetration:
The primary purpose of roof flashing is to keep water out. In the absence of flashing, rainwater, melting snow, or other forms of moisture can seep beneath the shingles or roofing materials and penetrate the layers beneath. This moisture intrusion can lead to a host of problems, including rot, mold growth, and structural damage.
By meticulously sealing joints, seams, and transitions on your roof, flashing ensures that water is directed away from these vulnerable points. It acts as a watertight sealant, redirecting water down the roof’s surface and into the gutters, where it can safely drain away from your home.
Key Installation Areas:
Roof flashing is strategically placed in specific areas known as “flash points.” These flash points are the critical junctures where two different roofing surfaces meet or where openings are present. Some common locations for roof flashing installation include:
- Roof Valleys: These are the V-shaped channels formed by the intersection of two roof slopes. Roof valley flashing is vital in directing water away from this vulnerable point.
- Chimneys: Chimney flashing surrounds the base of the chimney where it meets the roof, preventing water from entering around this protruding structure.
- Skylights: Skylight flashing is designed to keep water from infiltrating around the edges of skylights, ensuring a watertight seal.
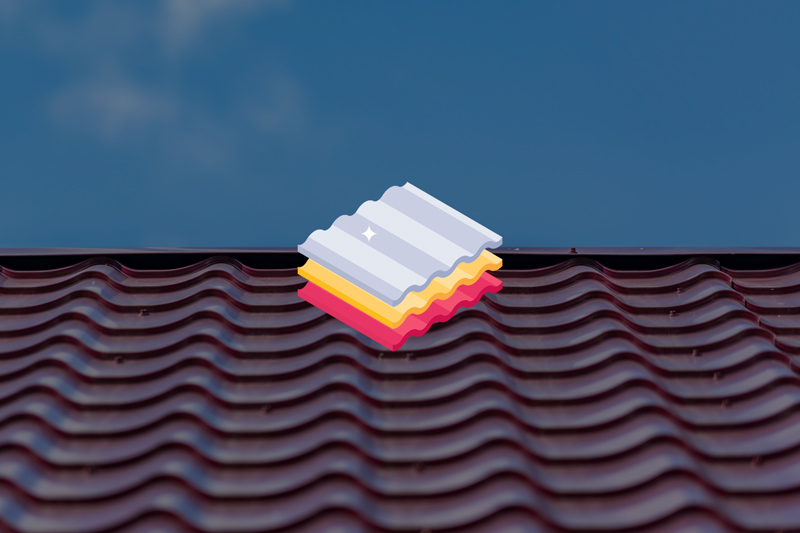
Common Materials for Roof Flashing
Materials Used for Roof Flashing:
Roof flashing comes in various materials, each with its own set of characteristics and benefits. Understanding the differences between these materials is crucial when considering your roofing needs. Let’s explore the most common options:
Galvanized Steel:
Galvanized steel roof flashing is known for its durability. It is created by coating steel with a layer of zinc, making it highly resistant to corrosion. This material can withstand harsh weather conditions and has a relatively long lifespan. However, it may require occasional maintenance to prevent rust.
Aluminum:
Aluminum roof flashing is lightweight and resistant to corrosion, making it a popular choice. It’s especially well-suited for coastal or humid regions where saltwater exposure is a concern. While it may be slightly more expensive than other options, its longevity and low maintenance make it a cost-effective choice in the long run.
Copper:
Copper flashing offers both durability and an attractive aesthetic. Over time, copper develops a natural patina that adds character to your roof. It’s highly resistant to corrosion and can last for decades, if not centuries, making it an excellent choice for historic or upscale properties. However, copper is among the pricier options.
Lead:
Lead flashing has been used for centuries due to its malleability and durability. It’s an excellent choice for custom flashing solutions because it can be shaped to fit unique roof configurations. While lead flashing has its advantages, it’s important to note that it requires skilled installation to avoid potential health and environmental concerns.
Rubberized Asphalt:
Rubberized asphalt flashing, often in the form of a self-adhesive membrane, is a versatile choice. It’s easy to work with and provides an effective barrier against water intrusion. However, its lifespan may be shorter compared to some metal options, so regular inspections are essential.
Pros and Cons:
When selecting a roof flashing material, consider factors such as durability, cost, and maintenance. While each material has its advantages, they also have their limitations. The right choice depends on your specific roofing needs and budget.

Different Styles of Roof Flashing
When it comes to protecting your home from water intrusion, understanding the different styles of roof flashing is essential. Each style is designed for specific areas of your roof, ensuring a watertight seal. Let’s explore these various styles and where they are best applied:
Step Flashing:
Step flashing is a versatile flashing style, commonly used in roofing projects. It’s designed for areas where the roof meets vertical surfaces, such as walls or dormers. Step flashing is installed in a step-like pattern, allowing for seamless water drainage while preventing moisture from seeping underneath shingles or roofing materials. This style ensures a reliable barrier in critical transition areas.
Continuous Flashing (Counter Flashing):
Continuous flashing, also known as counter flashing, is used to protect vulnerable areas like chimney bases or parapet walls. It involves a continuous piece of flashing that overlaps with the roofing material and is sealed to the masonry or wall. This method effectively redirects water away from these areas, preventing leaks and potential structural damage.
Valley Flashing:
Valley flashing is crucial for the V-shaped valleys formed by the intersection of two roof slopes. These valleys are prone to water accumulation and, without proper flashing, can be a significant source of leaks. Valley flashing guides water safely down the roof’s surface, protecting this vulnerable area from moisture infiltration.
Drip Edge Flashing:
Drip edge flashing is installed along the edges of your roof, both at the eaves (lower edge) and rakes (sloping edge). Its primary purpose is to direct water away from the fascia and prevent it from seeping into the roof deck. Drip edge flashing also adds a neat finish to your roofing system.
Vent Pipe Flashing:
Roof vent pipes are essential for proper ventilation in your home. Vent pipe flashing is specially designed to create a waterproof seal around these pipes, ensuring that water cannot enter through the gaps. It’s a crucial component in preserving your roof’s integrity and preventing leaks around vent openings.
Skylight Flashing:
Skylight flashing is tailored to protect the area around skylights. These openings in your roof can be potential leak points if not properly sealed. Skylight flashing creates a watertight seal, allowing you to enjoy natural light without worrying about water infiltration.
Custom Flashing Solutions
Assessing Specific Requirements:
Experienced roofing contractors have the knowledge and expertise to assess the specific needs of a roofing project. They carefully examine the roof’s architecture, identifying areas that may be prone to water infiltration due to their unique design. Whether it’s an unusually shaped dormer, an intricate rooftop garden, or a complex intersection of different rooflines, skilled contractors can pinpoint potential trouble spots.
Creating Tailored Flashing Designs:
Once the unique requirements are understood, roofing professionals can create custom flashing designs that address these challenges. This process involves designing flashing materials and shapes that perfectly match the roof’s idiosyncrasies. These tailored solutions ensure a snug fit that leaves no room for water to seep in.
Examples of Challenging Roof Configurations:
To illustrate the importance of custom flashing solutions, let’s consider a few examples of challenging roof configurations:
- Curved Roofs: Roofs with curved or arched designs can pose a significant challenge for standard flashing. Custom flashing can be shaped to match the curvature seamlessly, maintaining the roof’s aesthetics while providing effective protection.
- Historic Buildings: Preserving the architectural integrity of historic buildings often means dealing with intricate roofing details. Custom flashing allows for the preservation of the building’s character while ensuring water-tightness.
- Unique Additions: When homeowners decide to add unique features like rooftop gardens, solar panels, or skylights, custom flashing becomes essential to integrate these elements seamlessly into the existing roof.

Installation and Maintenance Tips
Step-by-Step Installation:
Assessment: Before you begin, assess your roof and identify the areas that require flashing. Common locations include roof valleys, chimney bases, skylights, and vent pipes.
- Material Selection: Choose the appropriate flashing material based on your roof’s needs. Consider factors such as climate, roof pitch, and the type of roofing material you have.
- Safety First: Ensure you have the necessary safety gear, including gloves, goggles, and proper footwear, before you start working on the roof.
- Proper Cutting: Cut the flashing material into the required shapes and sizes using the appropriate tools. Precision is key to creating a watertight seal.
- Sealing and Attachment: Apply roofing cement or sealant to the areas where the flashing will be installed. Secure the flashing in place, ensuring it fits snugly against the roof and adjoining surfaces.
- Overlap and Angle: When installing flashing in valleys or along walls, make sure the pieces overlap correctly, creating a seamless barrier. Flashing should be angled to encourage water drainage away from the structure.
- Sealing Joints: Seal all joints, seams, and nail penetrations with roofing sealant or cement to prevent any potential points of water intrusion.
Importance of Proper Sealing Techniques:
Proper sealing techniques are crucial for the effectiveness of roof flashing. Any gaps, cracks, or improperly sealed areas can compromise the flashing’s ability to keep water out. Ensure that all seams and joints are well-sealed, and pay special attention to areas where the flashing meets the roof and other surfaces.
- Waterproofing: Applying a waterproof membrane or underlayment beneath the flashing can provide an extra layer of protection. This ensures that even if water manages to breach the flashing, it won’t reach the vulnerable layers of your roof.
Maintenance Tips for Long-Term Effectiveness:
To prolong the life and effectiveness of your roof flashing, follow these maintenance tips:
- Regularly inspect the flashing for signs of damage, wear, or deterioration.
- Clear debris, leaves, and other obstructions from the flashing to maintain proper drainage.
- Reapply sealant or roofing cement as needed to address any cracks or gaps.
- After severe weather events, check the flashing for damage and make repairs promptly.
Leave a Reply